|
The following procedure installs the Atlas ASIO and WDM audio drivers, and the Atlas Control Panel app, on your Windows PC. You must have Windows Vista or later (either 32-bit or 64-bit), and a spare USB 2.0 or USB 3.0 port.
| • | Connect your Atlas to the mains supply and to a USB port on your PC with the cables provided. |
| • | Insert the installation disc into a DVD-ROM drive on your PC, or else locate the folder containing the downloaded installation files. |
| • | If the PC is set to 'Autoplay' , installation will begin automatically, otherwise double-click on the "setup.msi" icon in the root folder of the disc. |
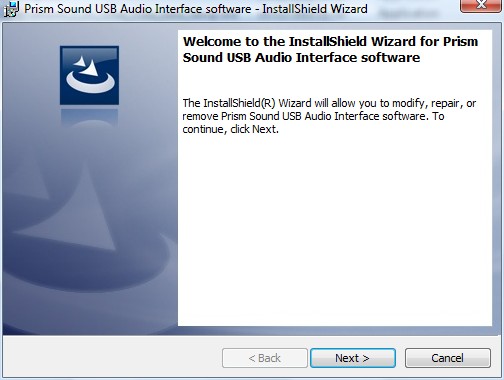
| • | A welcome screen announces that installation is abut to begin. If you wish to proceed, click 'Next': |
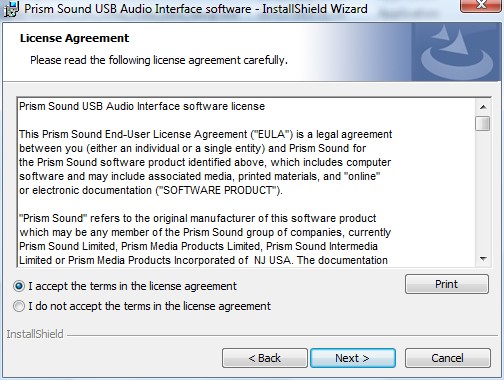
| • | You will be asked to agree to the EULA - if you agree, select the 'accept' button and click 'Next': |
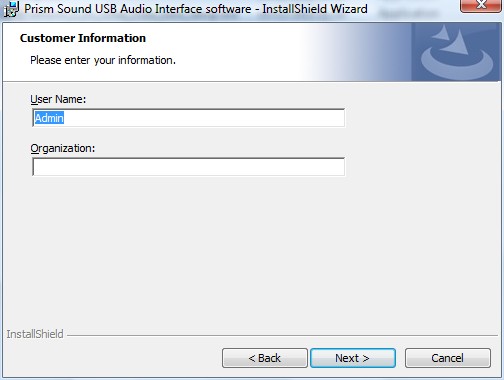
| • | Confirm your user name and organisation, and click 'Next': |
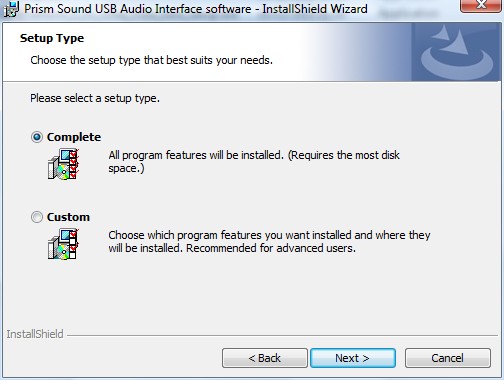
| • | Choose 'Complete' to perform a default installation. To change the installation location or which components will be installed, you can choose 'Custom' (not recommended). Click 'Next': |
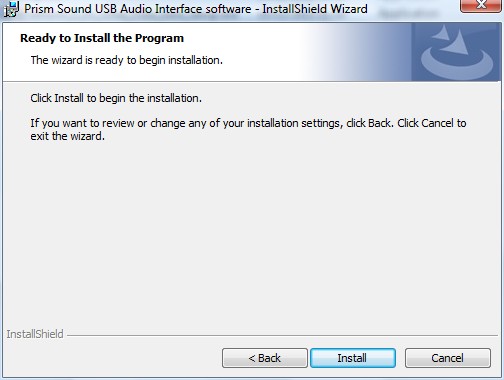
| • | Final check. To proceed with installation, click 'Next': |
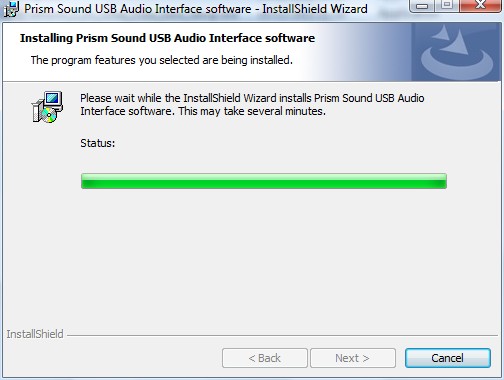
| • | Installation will then proceed: |
| • | You may then be prompted to confirm that you would like to install the device driver. Click 'Install': |
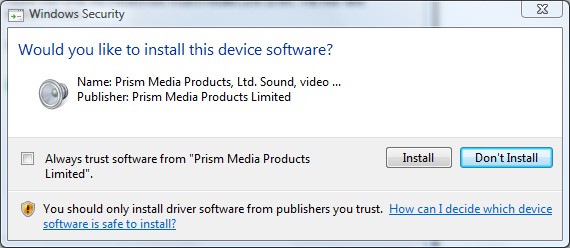
| • | Note that, depending on your installation you may have to confirm TWO driver installations, one for the USB audio driver itself and one for the WDM driver. |
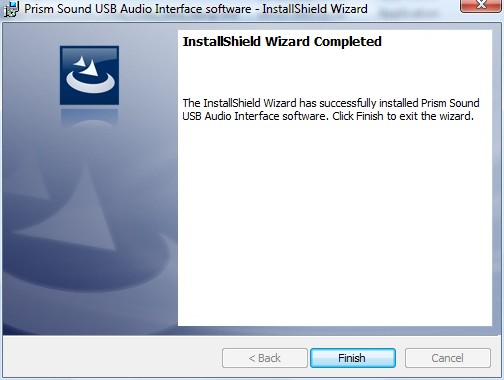
| • | Installation will then complete, click 'Finish': |
The Atlas device's ports should now be visible to Windows and any applications as both ASIO and WDM audio ports.
|