|
The following procedure installs the Orpheus ASIO and WDM drivers, and the Orpheus Control Panel applet, on your Windows PC. You must have Windows XP, Vista (32-bit) or later, and a spare FireWire 400 (IEEE1394A) port.
| • | Connect your Orpheus to the mains supply with the power-cord provided. DO NOT connect it to the PC yet. |
| • | Insert the installation disc into a DVD-ROM drive on your PC. |
| • | If the PC is set to 'Autoplay' , installation will begin automatically, otherwise double-click on the "setup.exe" icon in the root folder of the disc. |
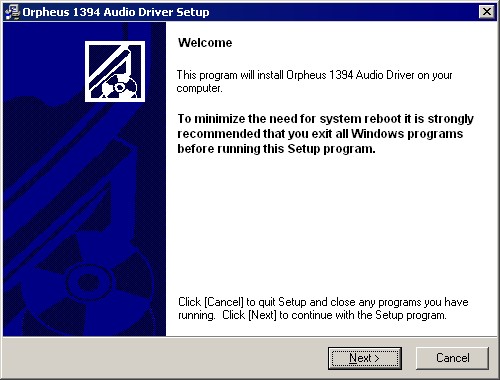
| • | A welcome screen warns you to shut down other applications prior to installation. Do so and click 'Next': |
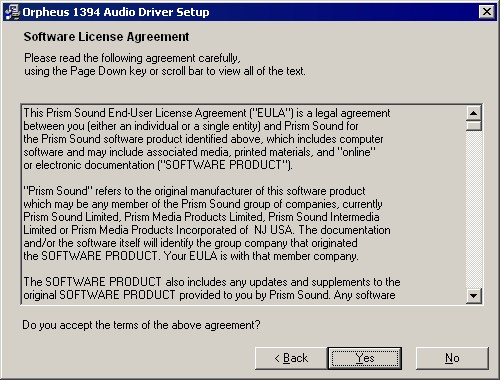
| • | You will be asked to agree to the Orpheus EULA - if you agree, click 'Yes': |
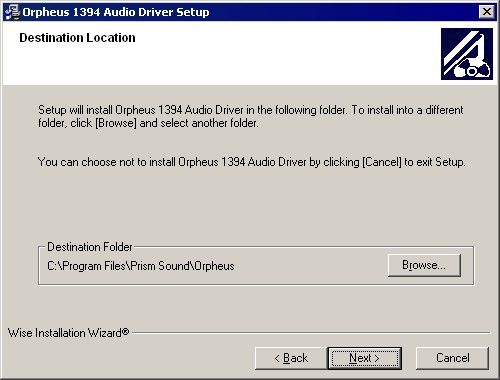
| • | Choose the installation folder location by clicking 'Browse', if required, or else use the default (recommended); click 'Next': |
| • | Installation will then proceed: |
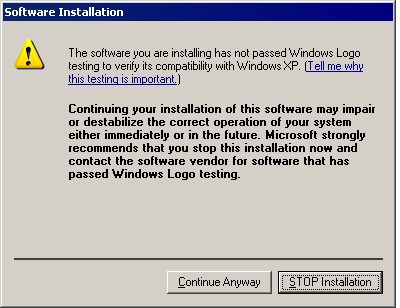
| • | Orpheus' drivers are have not been submitted for Windows Logo testing, and so warnings of this will be issued during installation. Select 'Continue anyway' when these occur: |
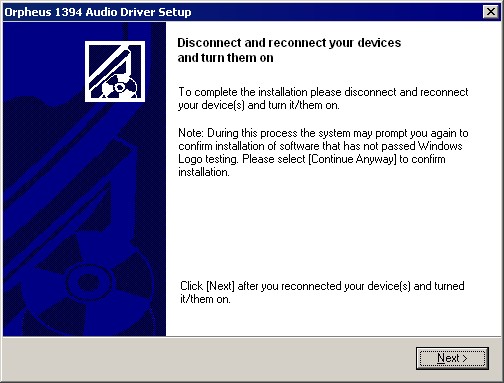
| • | During installation, you will be prompted to connect the Orpheus to the FireWire port of the PC. Do so, then click 'Next': |
The Orpheus device's ports should now be visible to Windows and any applications as both ASIO and WDM audio ports, and a bidirectional MIDI port. Note that only the first two ADAT ports (if enabled by the Orpheus Control Panel applet) are visible in the WDM case.
|